Starting Brugmansia Seeds
 Hopefully the following information will be useful when you begin the challenge of growing brugmansia seed at home. It is fun, challenging, and rewarding when you see the end result.
One of the first things you should know is that your seed will not be exactly like any other brugmansia plant. If you are expecting it to look like the plant the seed pod was on, it probably won’t. There can be a lot of similarities, but nothing identical.
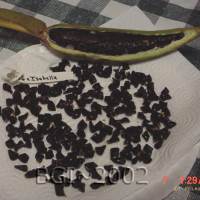
Brugmansia seed is a funny little seed with a corky covering that hides the little bean that is actually what starts the brugmansia plant. They range in size and color, depending on the type of seed that is available to you. Some are tiny and some are quite large by comparison. Some are very light brown and range to very dark brown.
To begin with, you will need to have a good potting medium that will not stay too wet. Something that has good drainage is a must. Generally it is easiest to plant several seeds in a small plastic pot of four to six inches in size. Fill the pot to within an inch and a half with potting soil and moisten it. Set it aside because there is more than one way to do this.

Brugmansia Seeds
Brugmansia seeds are covered with a corky outer covering. Most people prefer to peel this covering off. Some seeds are too small, but if large enough, I peel the covering off.

Soaking Seeds
If seeds are very dry, I soak the seeds to facilitate the peeling. If they are fresh, they peel easily without soaking.
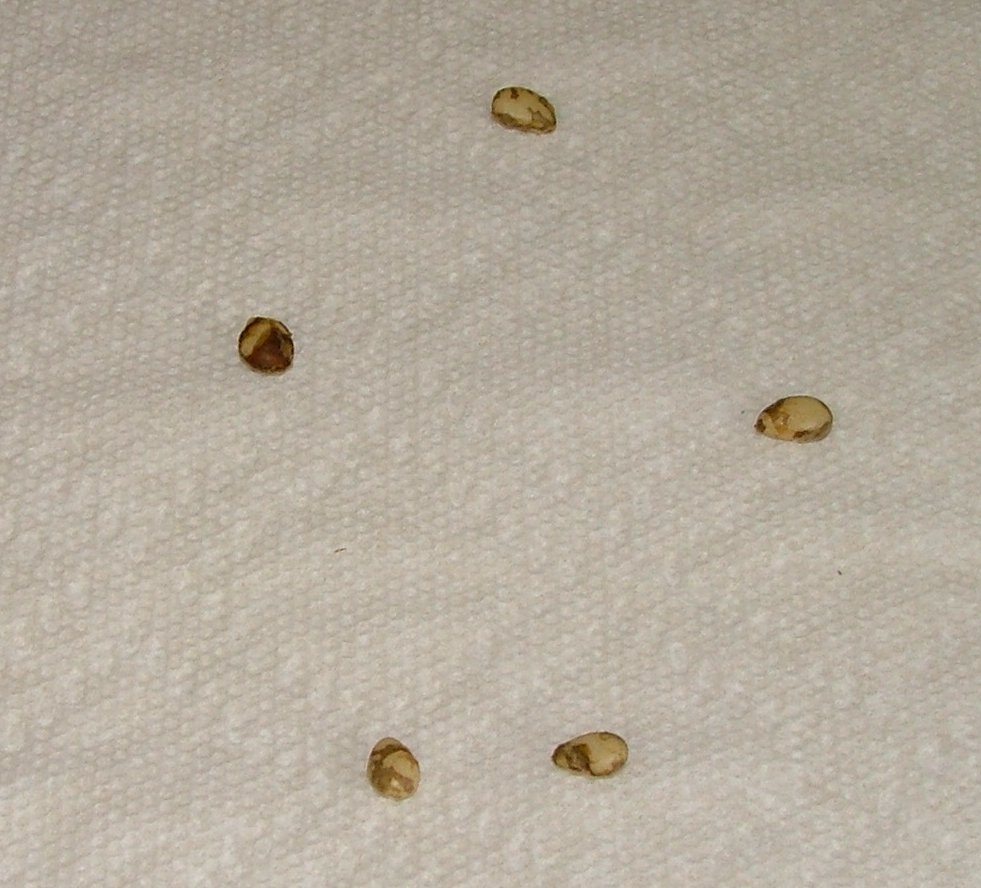
Unpeeled seeds
The seeds resemble tiny beans. Don’t be alarmed if you find some “empties” when peeling or if you occasionally mangle a seed when peeling, that happens to the best of us.

Soaking Unpeeled Seeds
After peeling, soak the seeds again in a solution to help remove bacteria or fungus. I use either a 10% bleach solution (1 part bleach to 10 parts water), or sometimes I use approx. 1 tbsp. hydrogen peroxide in a glass of distilled water. Soak approx. 10 minutes.
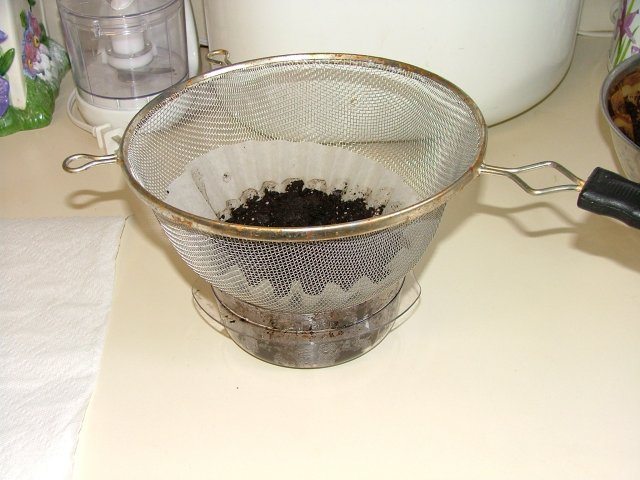
Planting Medium
If using potting soil, sterilize it by pouring boiling water over the soil in a colander lined with a paper towel or coffee filter. Let cool completely then place in container of choice.
Germination
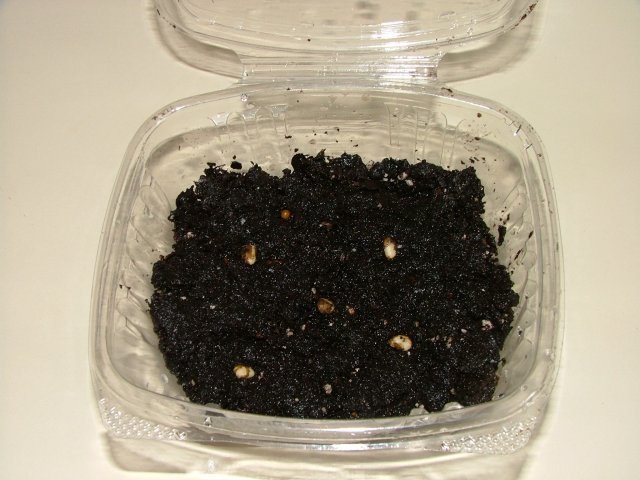
Brugmansia seeds germinate best with a bit of light, so just barely press the seeds into the planting medium.

Other mediums
Other planting mediums I have used are jiffy peat pellets. You can see germination started here.
 Growing On
This is a Bio-Dome from Parks Seeds, I have used these with excellent results. New seedlings are looking good here. You can transplant to individual containers when they have approximately 2 sets of true leaves, and at that time begin fertilizing with weak (1/4 strength) water soluble fertilizer.
One way to start the seeds is to just plant them, cork and all. You can do this right from the seed pod, from seed you have received from a friend or ordered, or some of your own that you have allowed to dry a while. Seed is viable for quite a long time, although the germination rate does decrease with time. If you chose to plant this way, lay the seed on the soil surface and then cover with about a quarter to one half inch of soil. Moisten the top soil and place the pot in a warm place to wait for germination. This can take from two week to several months, but most will germinate within a month. Keep the soil just slightly moist until the babies start coming up. Misting the soil is better than watering it. Still, do not over water as too much moisture can contribute to a problem called “damp off”. That is where the newly emerged seedlings just seem to fall over. Good air circulation is important to keep this from happening. Always be sure to mark your seeds with the cross they are (mother plant first and father plant, or pollen donor second) and the date you planted them.
Do not be surprised if a few of the seeds emerge with the cork still attached. Just mist them with water frequently to keep the cork soft and it will generally come off by itself. If not, it might require using a pair of tweezers to help it along. Be careful, and try very hard not to hold the stem of the seedling with your fingers. That can seriously damage the seedling.
The next way to plant is to soak the seeds for 24 hours or a little more. Carefully peel the cork from the seed and plant the little seed in the same manner as above. The advantage to planting this way is that you won’t have the corky covering stuck to the seedling as it emerges. Like anything else, you will find that one way works better for you than the other. Maybe the next year, it will change. Just do what works and enjoy.
Okay, now you have brug babies (seedlings). What do you do next you ask? When the seedlings reach a size where they have at least two true leaves, that does not include the two it started with, they can be transplanted to a small pot. Usually something about 2 inches in size is good until they get a good root system established. Removing one seedling from the pot of seedlings is easy, but you will need to be careful.
First, have your new pots ready with good soil that drains well. Have something such as a pencil to help you lift the seedling from the germinating pot. While you lift the seedling by putting the pencil down and under the roots, gently hold the seedling by its leaves to bring it up and out of the soil. While you still have the pencil in your hand, make a hole in the new home with it and gently lower the roots into the hole. Fill in around it with soil and carefully give it a drink. You will not put this potted seedling in sun light for a few days. It needs to get adjusted to the new home it is in and sunshine would probably kill it. After a few days when it looks really perked up, you can put it in a sunny east window. After a few days there, it can be moved to a south window and allowed to grow. Do not fertilize it for a couple of weeks and then fertilize at half strength for a while. When moved outside, fertilizing can be continued vigorously, but that will be discussed in another section.
Here’s wishing you success with your seeds. We hope that you have found this small bit of information useful.